Planner - Addon Overview
The Planner is AYON's resource and booking system.
Last updated About 4 hours ago
The Planner is a premium addon included with the Studio subscription, or as an extra with a Pro subscription.
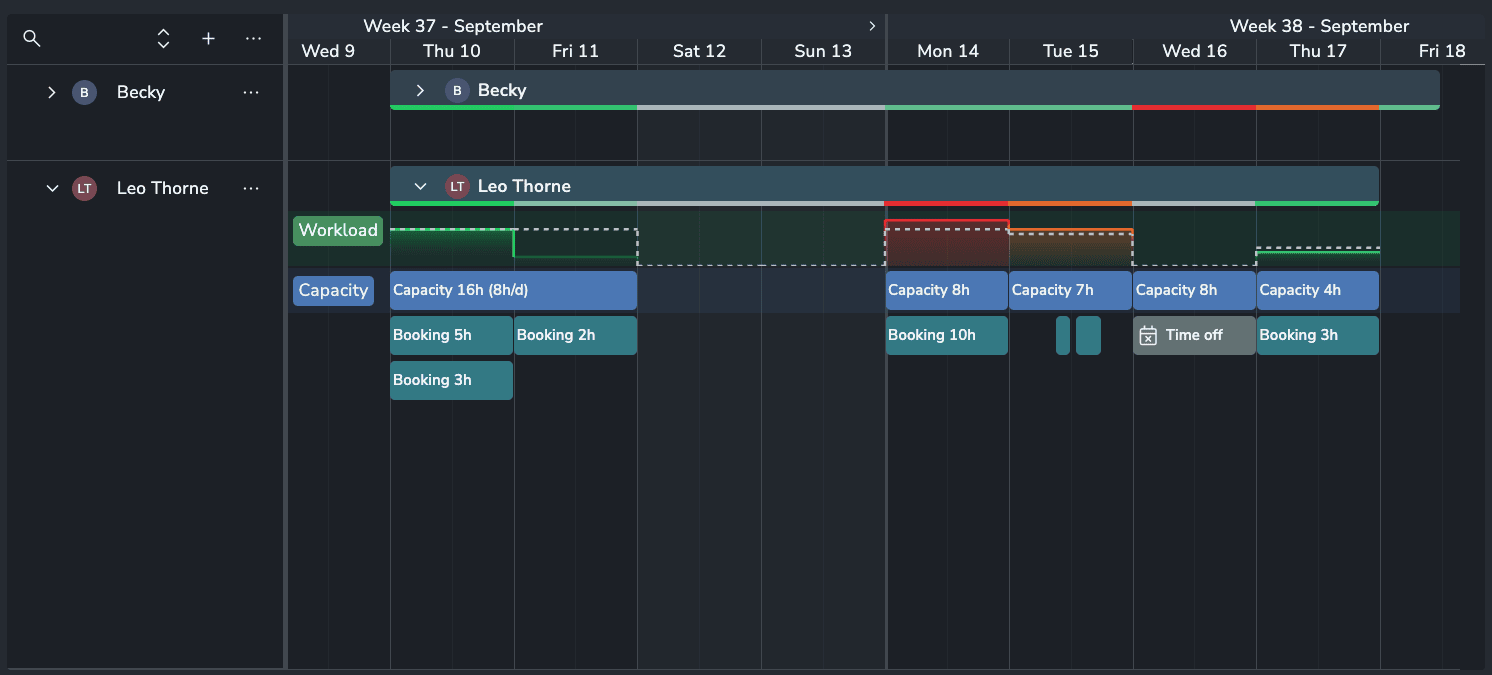
Plan and Resources show who and what your studio has, when each resource is booked, and how much capacity is left.
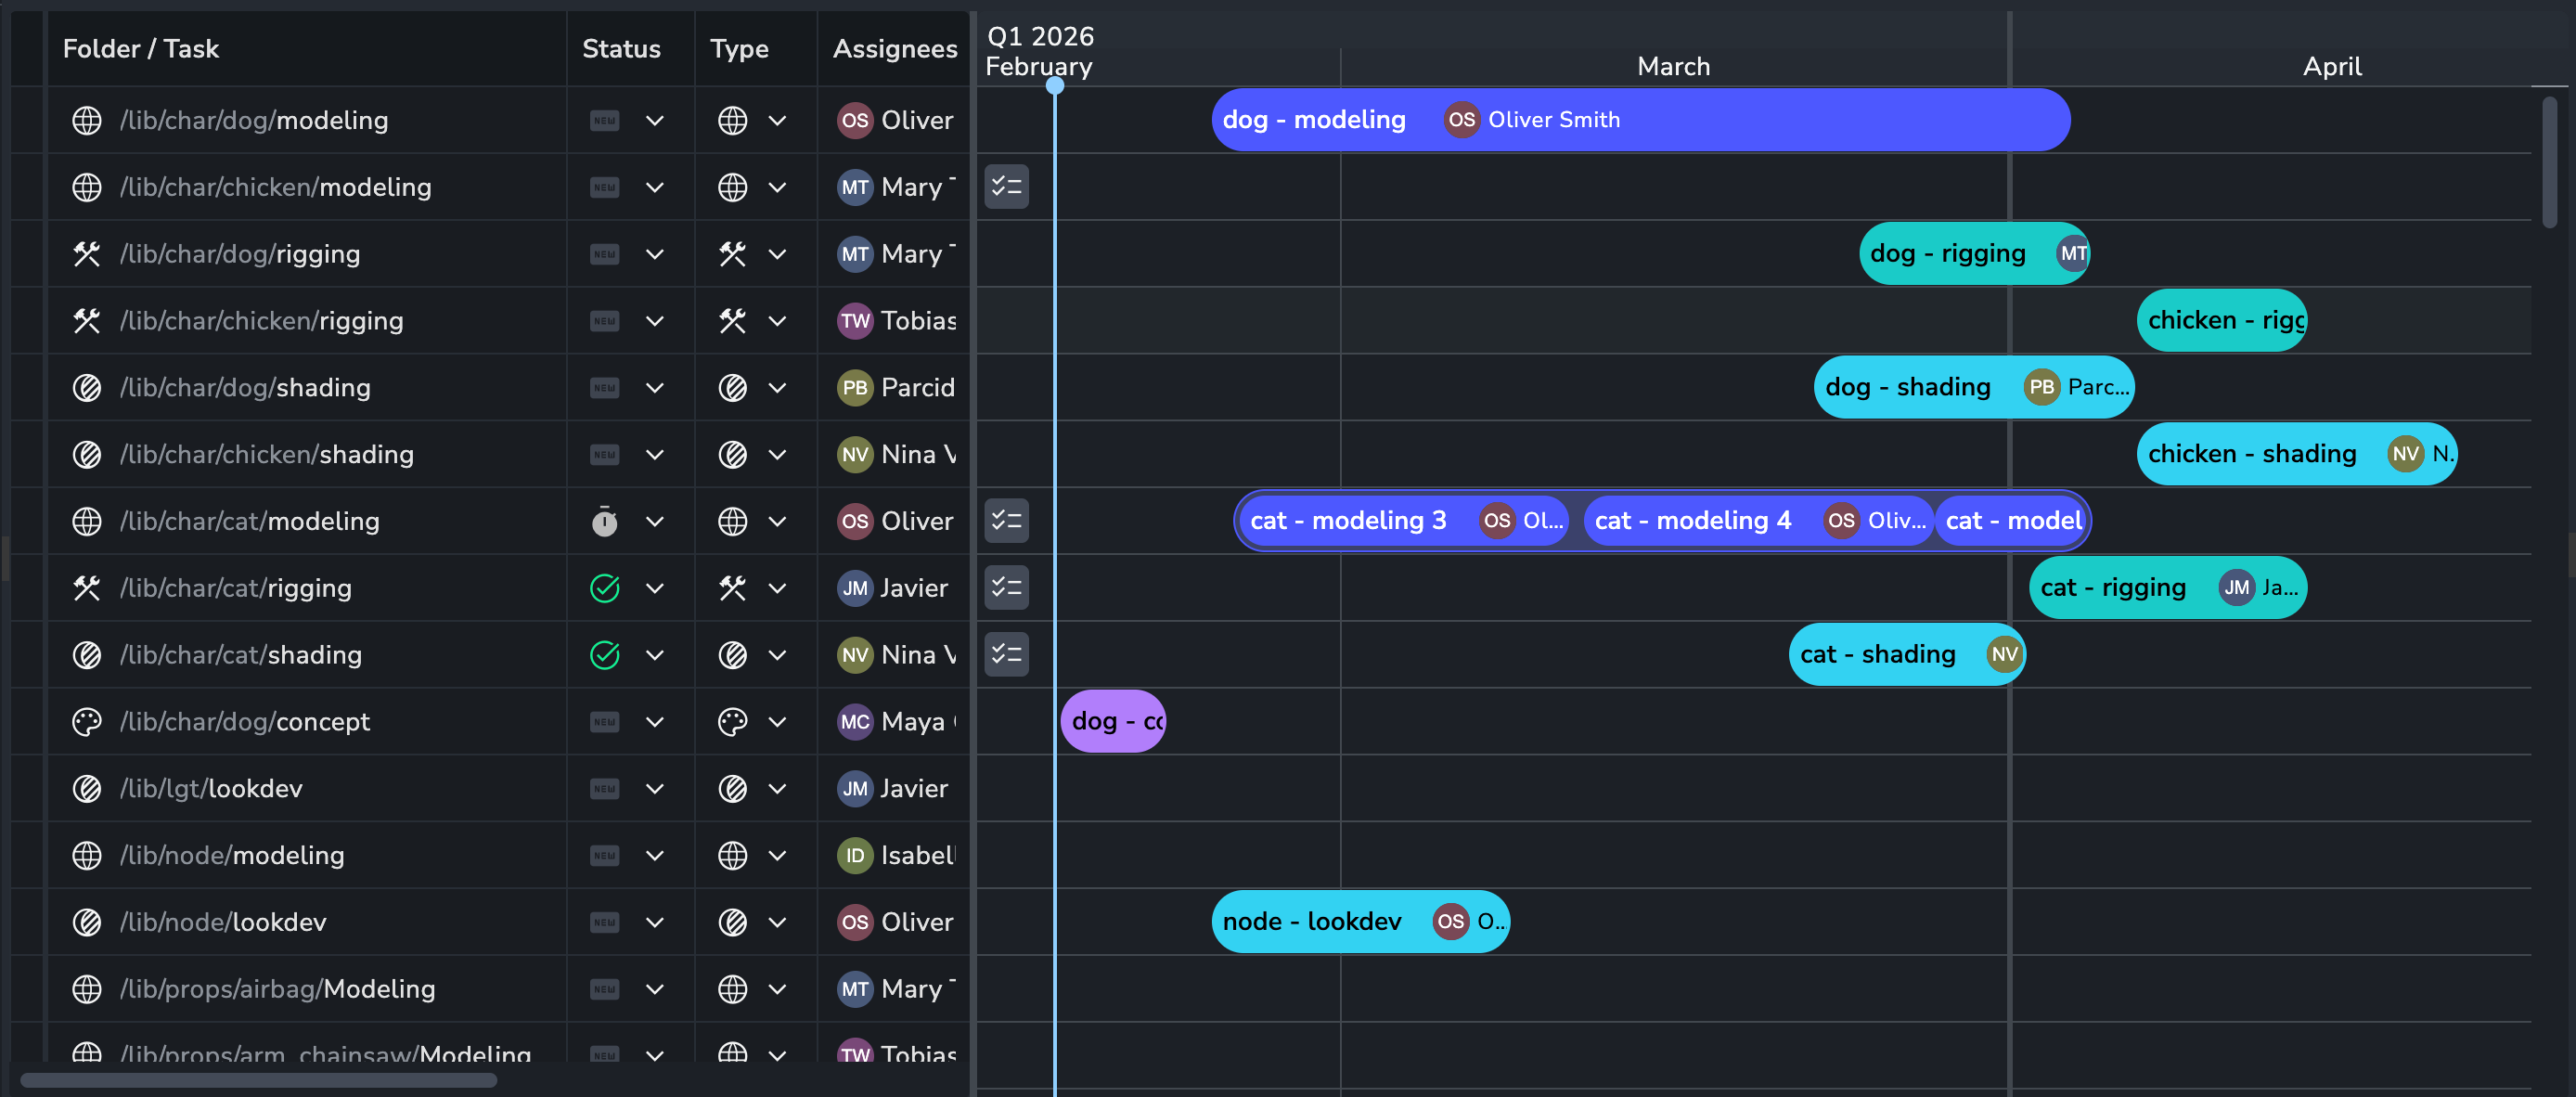
Schedule connects those bookings to the production tasks that do the work.
It answers questions like: Which compositors in London are free next week? Is the grading suite double-booked on Friday? Is the lighting team over capacity this month?
Key concepts
The Planner is built from four pieces that work together or on their own.
Resources and projects feed bookings; bookings guide the task-level schedule.
Quick start: your first booking
Add resources. In the Resources tab, select Create new resource. Add a few people and one room, and set attributes such as Department and Location.
Set capacity. Turn on the Capacity view and create a capacity event for each person, for example 8 hours per day, repeating every weekday.
Create a planning project. On the Projects page, select Create new project and fill in its attributes, such as client and brand.
Group the timeline. In the Plan tab, group by Department or filter by Location: London.
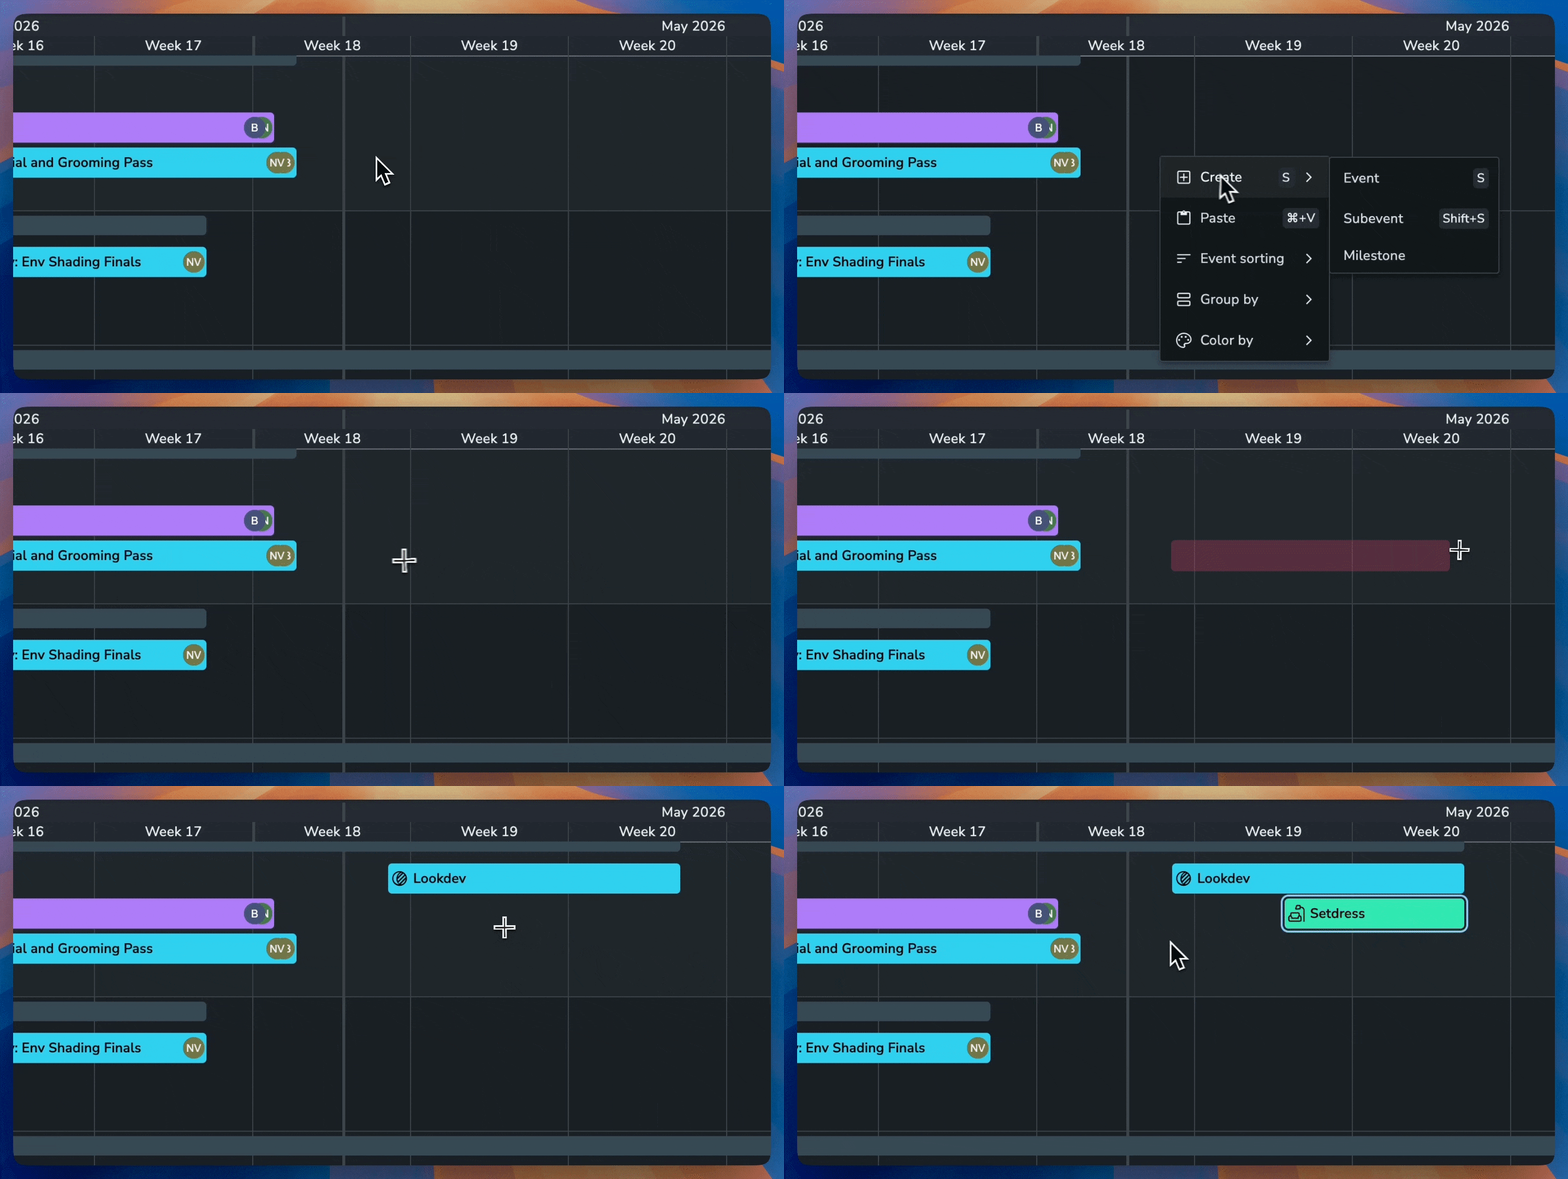
Create a booking. Hold Ctrl/Cmd and drag on the timeline, or press S. The resource picker opens already filtered to your current grouping. Assign the booking to your project.
Check the workload. The workload graph shows whether the booking fits within each resource's capacity.
Schedule the tasks. Open the project's Schedule tab, turn on Show Planner, then right-click the booking and select Create Schedule to date the matching tasks.
Planner articles
Planner - Plan (Bookings): bookings, capacity and workload, recurring events, time zones, scenarios, event permissions, and timeline controls.
Planner - Schedule Tasks: dating production tasks, the bookings overlay, Create Schedule and subtasks.
Planner - Resources Managment: setting up resources and attributes, and attribute permissions.