Lists
Last updated 9 months ago
Lists allow you to group folders, tasks, or versions from anywhere in your project into one view. Use them to track tricky shots, review versions, or keep things organized your way.
Lists are a flexible way to organize work in AYON, going beyond the standard folder and task hierarchy. They let you create custom collections of folders, tasks, and versions from across the project, all in one place.
You can create a list for anything: shots to review, tasks to track, versions to compare, or even a personal to-do list. There are no limits on what you can add or how much of it.
Whether you’re a lead prepping dailies, a supervisor tracking notes, or an artist gathering references, Lists help you focus on what matters most.
Working with lists
Create New Lists
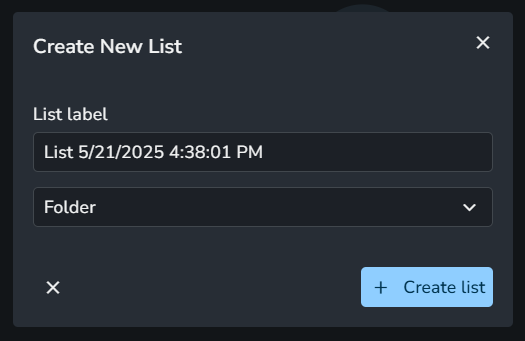
You can create a new list by clicking the Add (+) button or using the shortcut N on your keyboard. A window will pop up, allowing you to specify the list name and the entity type, which determines what kind of items you can add to the list.
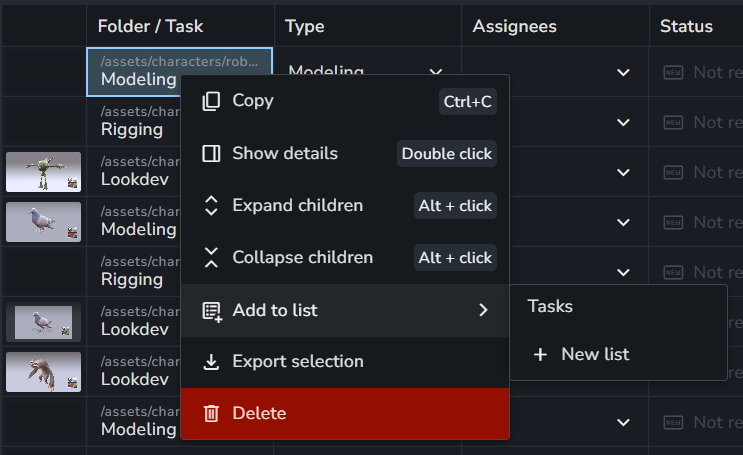
Alternatively, in the Project Overview Page, you can right-click any item and select + New list from the Add to list submenu. This creates a new list and adds the selected items to it.
Currently, you can choose between three entity types:
Folder
Version
Task
A list can only contain a single entity type and cannot include mixed entity types.
Manage Lists
Right-clicking on any list provides the following options:
Rename: Change the list name or by double clicking the list name.
Details: View details like ID, label, entity type, item count, owner, etc.
Move list: Move the list into a folder for better organization.
Delete: Permanently delete the list (hold ctrl/cmd to delete without confirmation).
⚡ List Folders
⚡️ List Folders requires a Pro or Studio subscription.
List Folders provide a powerful way to organize your lists into a structured hierarchy. A folder can contain both lists and other subfolders, giving you the flexibility to group and manage your collections as your project grows.

Creating and Managing Folders
To create a new folder, you can either click the Create new folder button in the top menu bar or use the universal F shortcut key. This shortcut is context-aware:
If nothing is selected, it will create a new, empty folder.
If lists are selected, the new folder will contain those lists.
If a folder is selected, it will create a subfolder within it.
When creating a folder, a pop-up window will appear with the following options:
Label: A required name for your folder.
Scope: Determines if the folder appears on all pages, or is limited to just the Lists or Review page.
Icon and Color: Optional visual aids to help you quickly identify folders.
Managing Lists within Folders
Moving Lists into Folders: To move an existing list, right-click it, select Move list, and then choose the destination folder from the menu.
Removing Lists from Folders: To remove a list from a folder, right-click it, select Move list > Unset folder, or use the shortcut
Shift+Alt+F.Creating New Lists Inside Folders: To add a new list, simply select the destination folder and create the list as normal using the
Nshortcut.
Filtering Lists
In the lists view on the left, you can filter the displayed lists by clicking the filter icon. A pop-up window will appear, letting you choose a filter. At the moment, the only available filter is by list entity type.
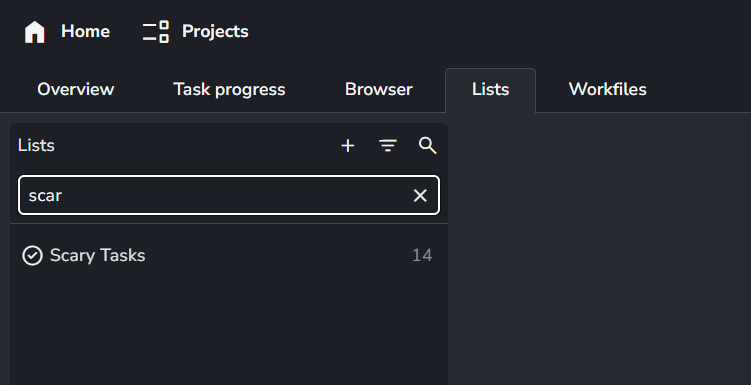
The search icon 🔍 on the lists page lets you quickly filter lists by matching their names with your entered text.
Add/Remove Items
You can add items to a list by selecting them and using the Add to List option from the right-click menu on the Project Overview Page.
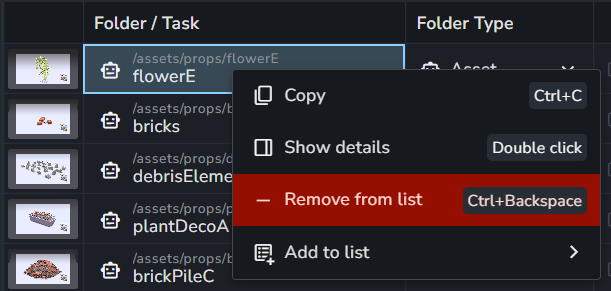
You can remove items from a list by selecting them in the list view, right-clicking, and choosing Remove from List. Alternatively, use the shortcut Ctrl/Cmd + Backspace. (This action can be undone.)
The Lists Page also supports additional editing actions like Undo, Redo, and Remove from list.

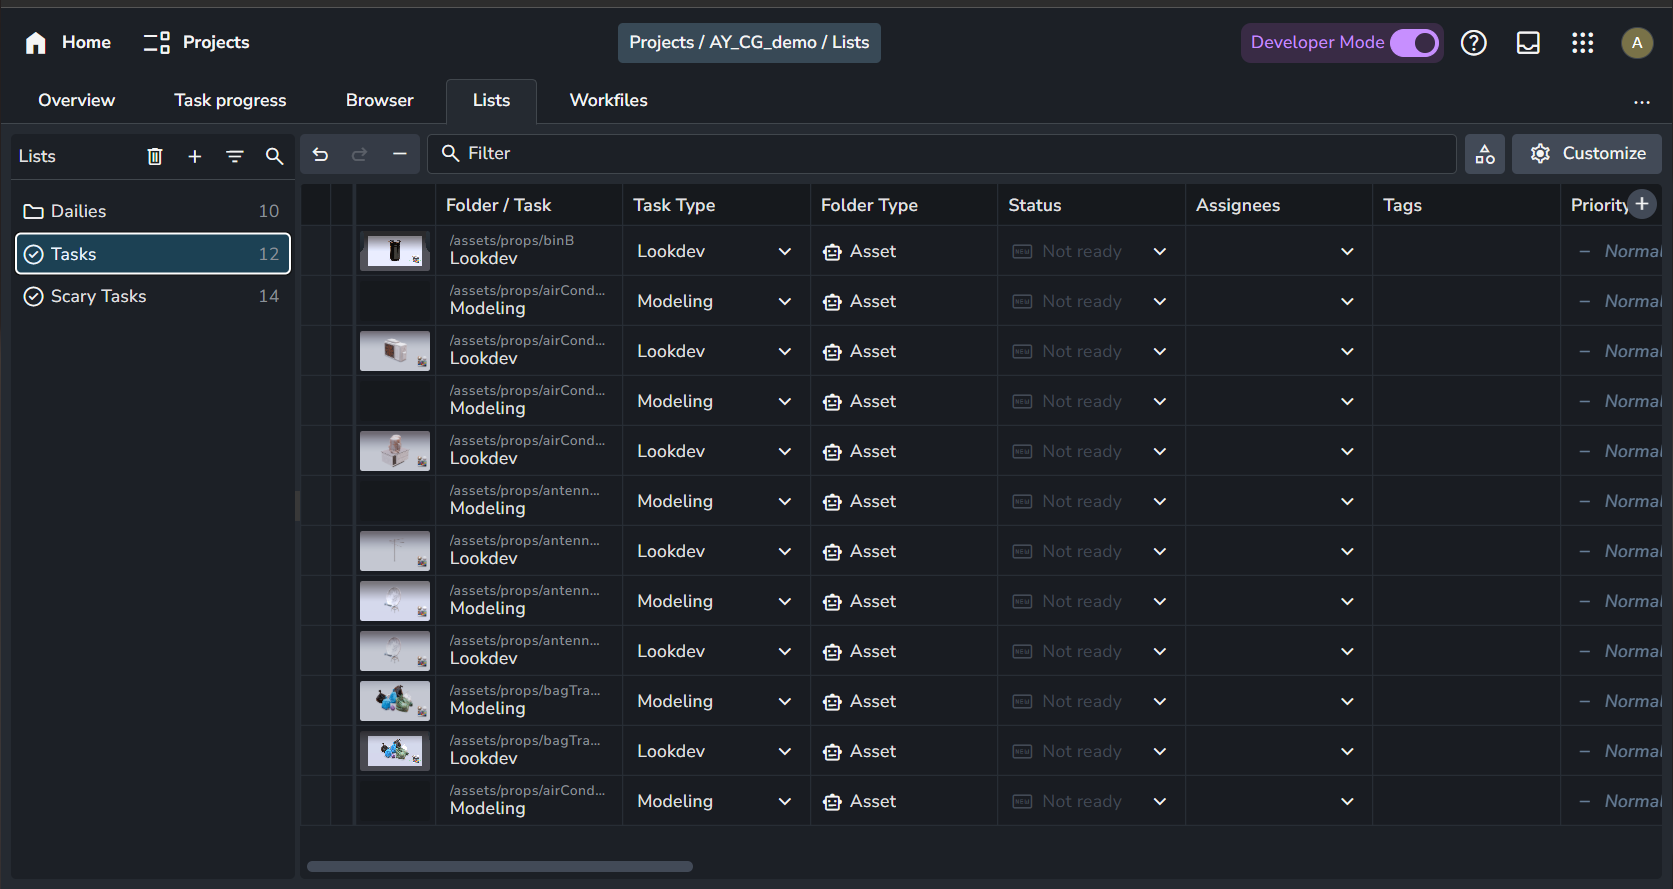
Adjust View
The Lists Page shares many features with the Project Overview Page, such as filtering, customizable panels, and spreadsheet-style editing. It also includes unique features like ordering list items. Some columns, particularly in version lists, are read-only and marked with a lock icon.
⚡ List Attributes
⚡️ List Attributes requires a Pro or Studio subscription.
What Are List Attributes?
List attributes are custom fields you can add to each list. They appear as extra columns in your table, allowing you to modify them for each list item. Each list is independent, meaning attributes are not shared between lists.
Why Are They Useful?
List attributes let you customize your workflow to fit your needs. Here are some examples:
Approval Tracking: If multiple directors need to approve a task before delivery, you can add a checkbox attribute for each director (e.g.,
Director_1,Director_2) and have them tick their respective boxes.Additional Information: Use attributes to add details like delivery dates or editorial notes specific to a list. For example, if a list represents a different commercial cut, you can include relevant info for that cut.
Vendor Management: When sending work to different vendors, create attributes for the assigned vendor, the deadline, and the current status of the vendor's work.
Shot Tracking in Commercial Cuts: For a list of shots used in multiple cuts, add attributes to track whether a shot is included in the edit, the required format (e.g., square, horizontal, vertical), or notes specific to that cut.
How to Manage List Attributes
Create New Attributes: Click the ⚙️Customize button in the top right, go to List Attributes, and select + Add Attribute. Alternatively, click the + button at the end of the table to add a new attribute directly.
Rename Attributes: In the List Attributes view under ⚙️Customize, click the ✏️ pencil icon next to an attribute to rename it.
Remove Attributes: In the List Attributes view under ⚙️Customize, click the 🗑️ trash icon next to an attribute to delete it.
List Actions

Each list can have its own actions that can run on the entire list. While no actions are currently implemented, this feature will evolve in future updates.
List actions can be added through a custom addon, such as a studio addon, allowing studios to integrate their own workflows into AYON.
⚡ List Access Control
⚡️ List Access Control requires a Pro or Studio subscription.
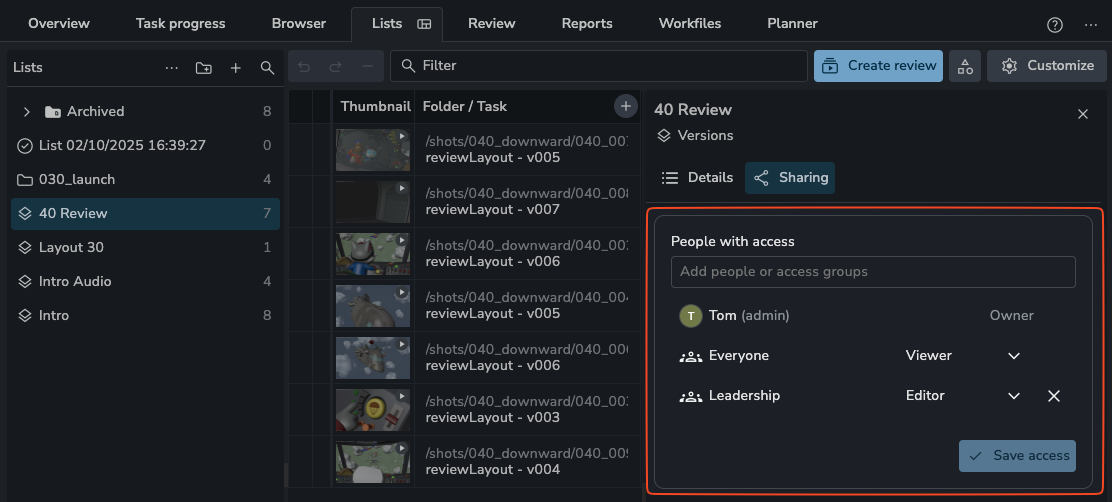
List Access Permissions allow you to control who can view, modify, or manage your lists. You can assign different levels of access to specific users or entire groups:
None: Users cannot see or interact with the list at all.
Viewer: Users can view the list and its items but cannot add, remove, or edit anything.
Editor: Users can view the list and add or remove items from it.
Admin: Users have full control. They can view, edit items, modify list attributes, change the list's name, delete the list, and manage access permissions for others.
Default Permissions: By default, everyone has Admin rights to a newly created list. You can then adjust these permissions as needed.
Community Edition: In the Community Edition, everyone effectively retains Admin rights over all lists.
Future Iterations
This is the first iteration of the Lists feature. Planned improvements include:
Set attribute values to only the list item without committing them to the original entity. (⚡ power feature).
Filter by list on Overview, Task Progress, and Browser pages.