Explore AYON with AYON Playground
The AYON Playground offers a fully populated sandbox environment to explore how production tracking, asset management, and client reviews work in real time without setting up anything. This guide takes you on a tour through the primary tabs and daily tools you’ll interact with inside the AYON web interface.
Last updated About 3 hours ago
Log into AYON Playground
To get started, we’ll need to log into Ynput.Cloud, as it serves as the log in method for the AYON Playground. (If you need help setting up an account, check out our Getting Started with AYON: Cloud-hosted )
Once logged into Ynput Cloud account of yours, navigate to https://playground.ayon.app/ and click Login with ynput.cloud
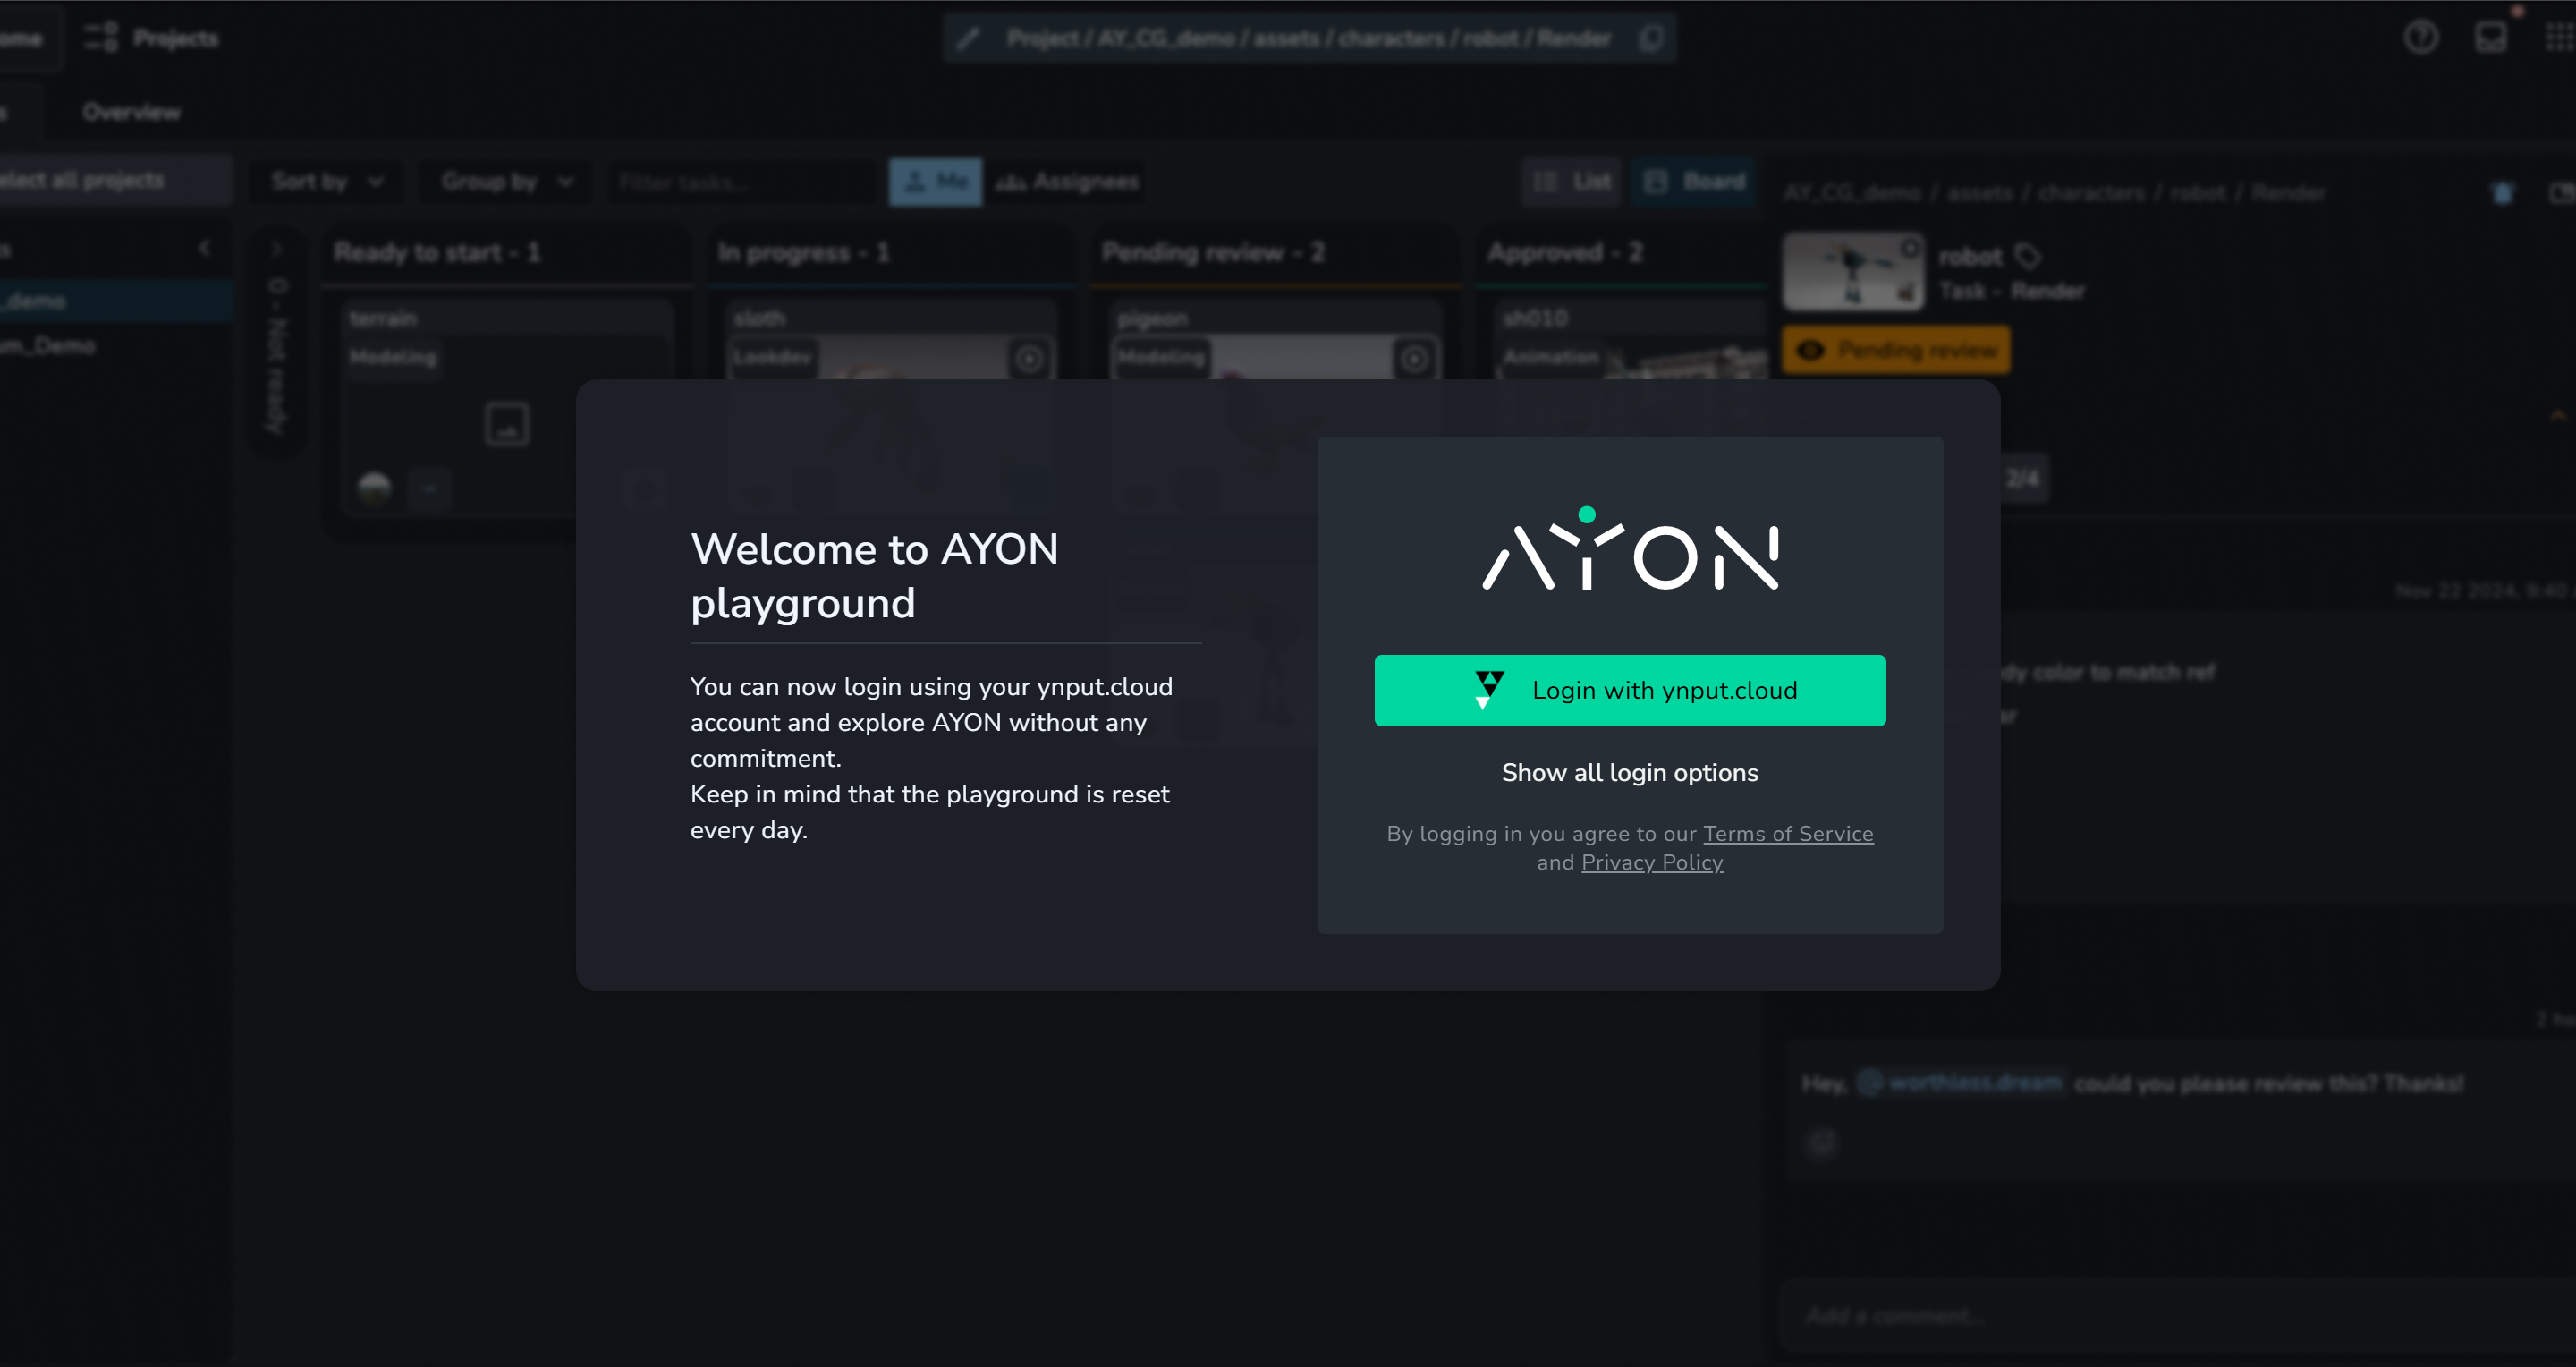
As soon as authentication completes, you will land on the Tasks (Home) Page, a Kanban board displaying your assigned tasks.
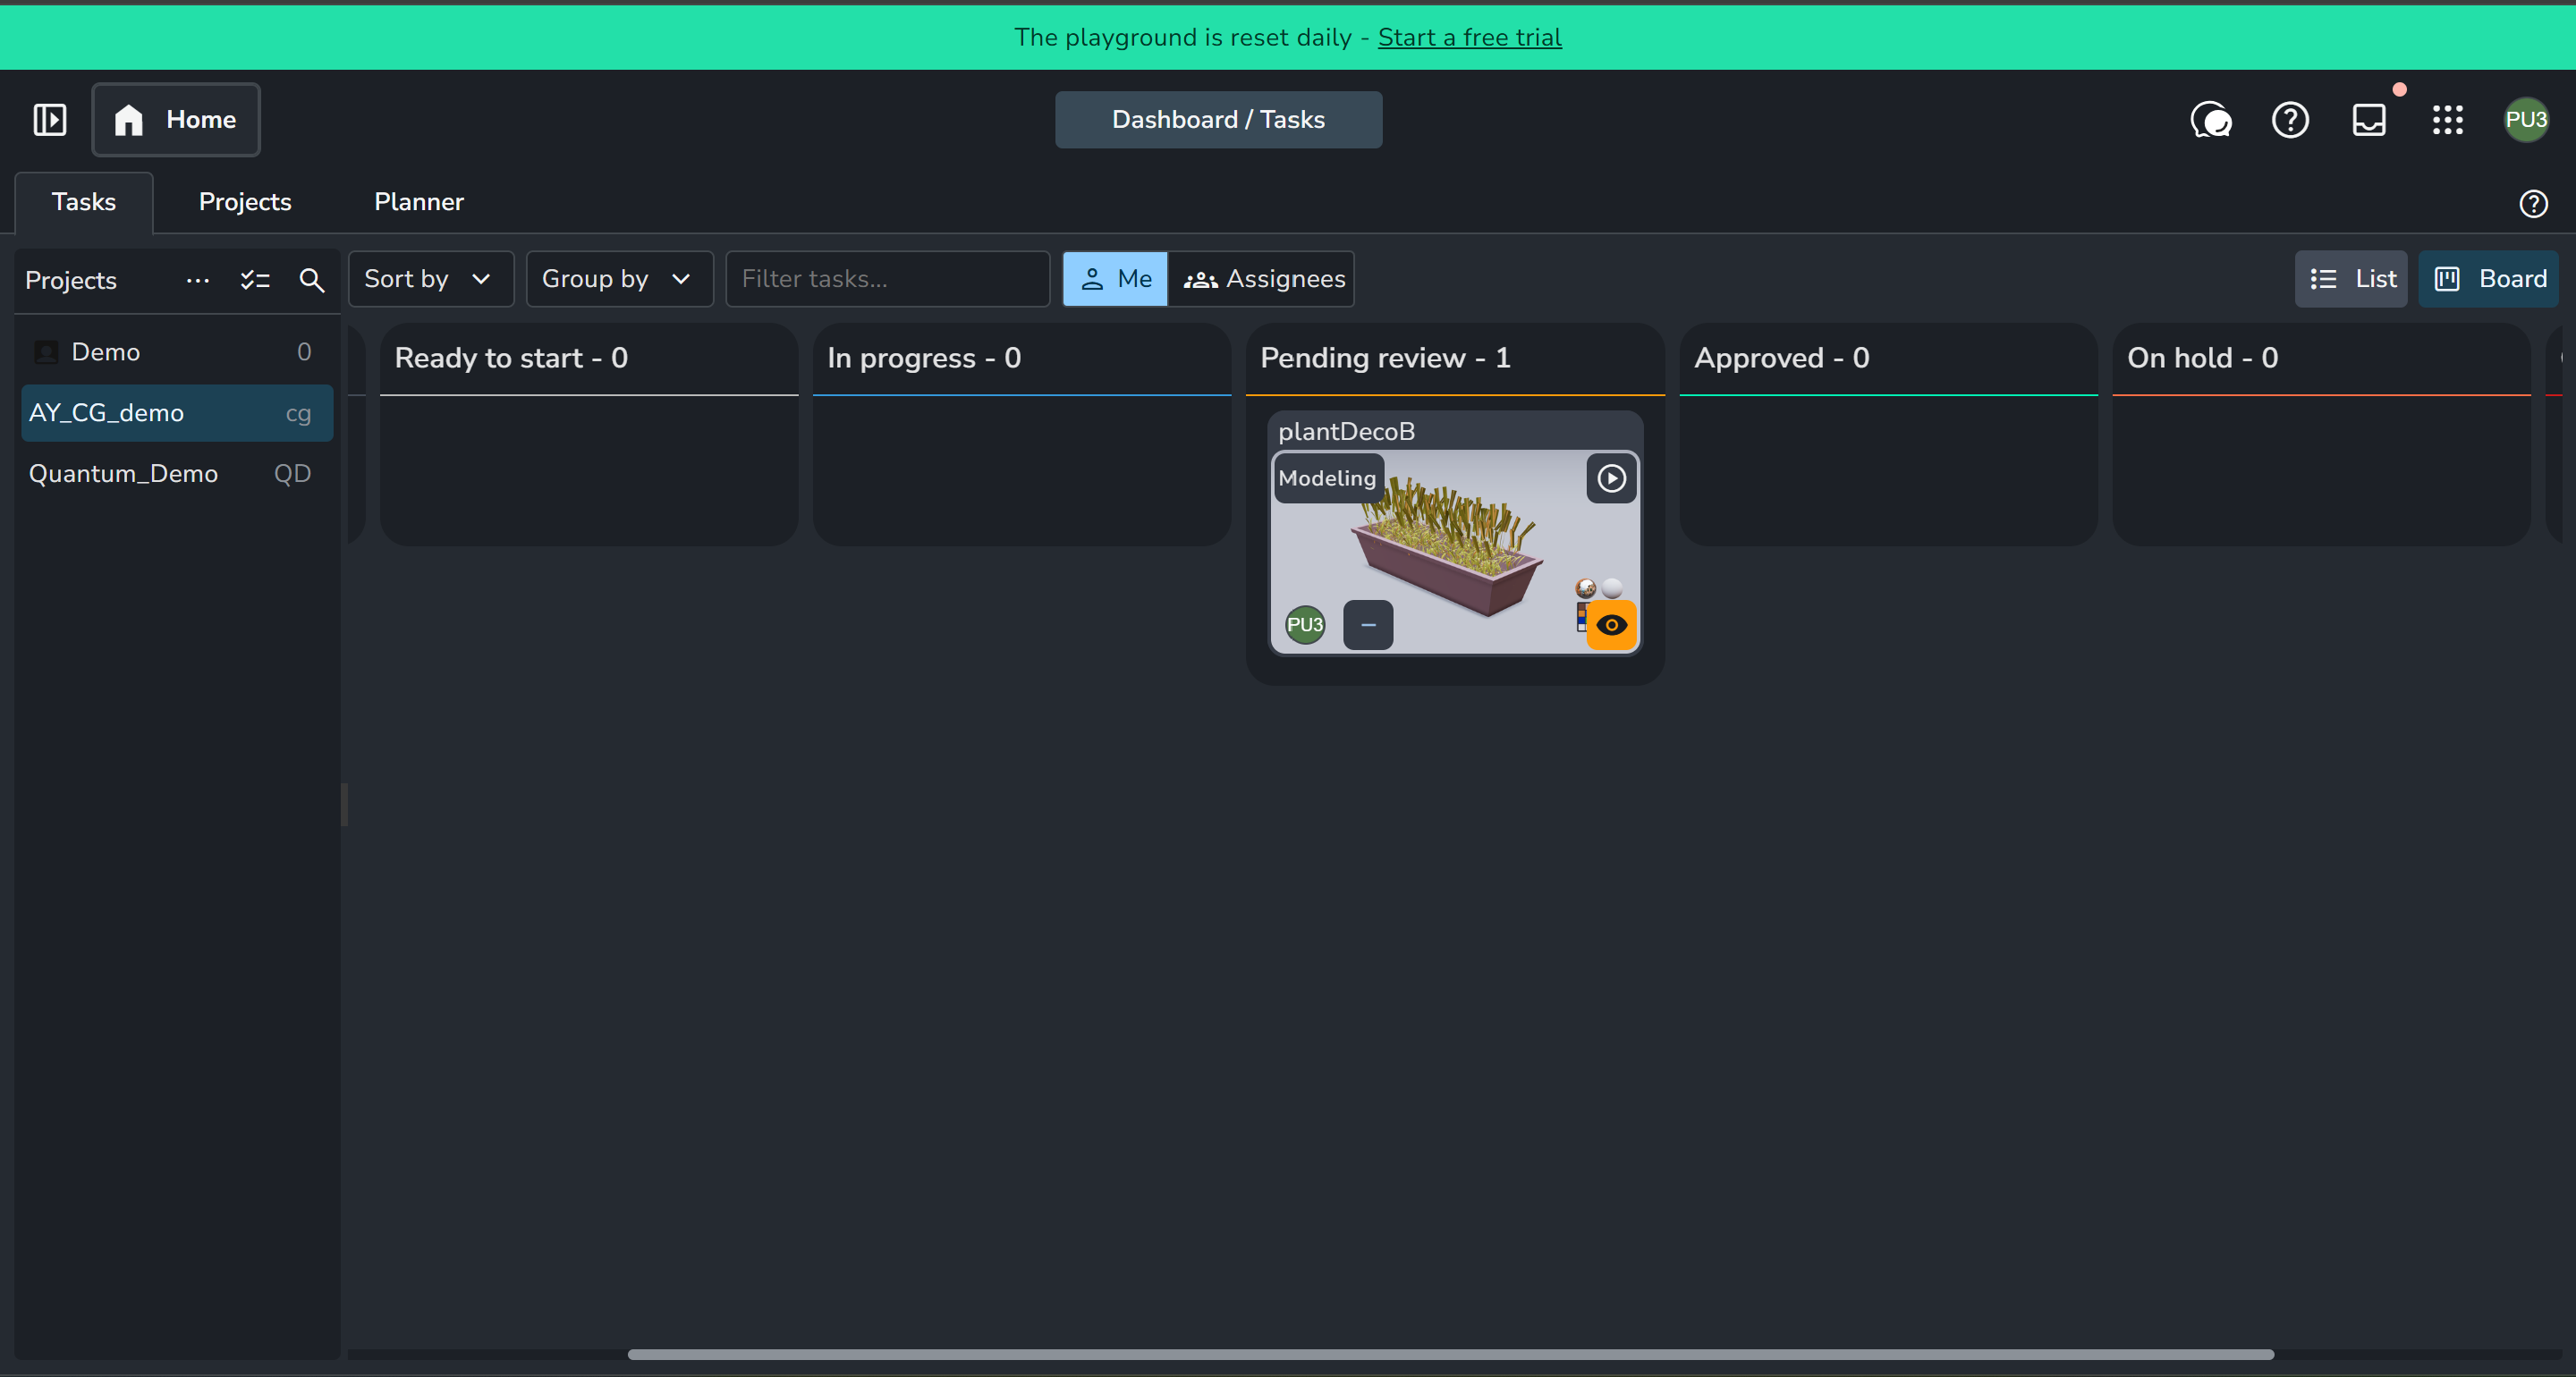
Explore Home Page
The Home page acts as your personal operational hub. The first thing we can do here is pick up a task card and drag it across the Kanban columns to update its status. If you want to dive deeper into a task, double-clicking it opens a Details pane where you can review feedback, comments, manage to-do checklists, or leave notes for your team mates.
When you select a task, notice the panel at the bottom displaying related tasks. Switching to Timeline Mode surfaces the same task type across sibling folders. such as viewing every Animation task across all shots. Toggling to Workflow Mode reveals sibling tasks within the same parent folder, letting you quickly check the status of Modeling or Lookdev alongside your current asset.
Whenever you want to preview uploaded media, click on a task's thumbnail; it will instantly open the image preview or launch its attached reviewable clip. What's great is that this seamlessly combines with the bottom panel, both Timeline and Workflow modes remain active inside the player as long as you open it directly from the Home page, letting you switch between related shots or tasks without leaving the review view.
Now let me show you how versatile this page really is. Let’s click the Assignees dropdown and select All Users to reveal studio-wide assignments. Then, let's switch from the Kanban board to List View and group the items by folders to turn the view into a clean directory overview.
Explore Task Progress Page
Next, let's move over to the Task Progress Page. This page gives us a high-level feel for project momentum across departments. By selecting folders in the slicer panel on the left, we can immediately see completion percentages and task statuses for those specific shots or assets.
Overview page
Transitioning from task management, let’s explore the project hierarchy by clicking on the Project Overview Page.
This page is dedicated to building and organizing your project hierarchy—it's where you'll create new asset and shot folders, as well as inspect folder attributes. It also allows you to customize and save your layout views, including which columns are visible, how assets or sequences are sorted, and custom metadata filters.
Products Page
Now, let's head to the Products and Versions Page, which tracks all published pipeline products, version histories, and output representations. Here, you can inspect published files, leave version-level feedback, and update version approval statuses.
Let's set our filter to show only the latest published products so we have a clean view of the the current state of an asset.
Lists
Lists allow you to pull folders, tasks, or product versions from anywhere across your project into a single, dedicated view. You can create a list for any purpose. Whether it’s tracking an upcoming delivery or gathering shots for review.
While in products page, let’s shift select the latest versions from the last section, right-click them and create a list and name it to reflect a snapshot of our asset folder at this exact point in time. Because it gathers the latest versions of all products within our asset folder, it serves as an immutable reference point.
Review Sessions
Now, let's turn our new list into a client review. From the list view, hitting the blue Create Review button converts our selection into an active review session and automatically switches us over to the Review tab where you can hit the Open Review button to open the review session.
When we open the session, we enter a unified media player with all selected clips loaded sequentially. Inside the review tool, you can inspect version metadata, draw on frames with annotation brush tools, a laser pointer during live sessions, and compare the current clip side-by-side with previous versions. You can also click Share Review and generate an external link for clients, allowing them to leave frame-accurate comments or approve shots without needing an AYON account.
Project Creation
Before wrapping up, lets create a brand-new project. Hitting the Home button at the top then going to projects tab. This is where you can create new projects via clicking Create new projects at the top.
Once created, you can double-click it to jump inside and start populating folder hierarchies, adding tasks, making artist assignments, and building custom lists just as we did throughout this tour.
AYON Menus
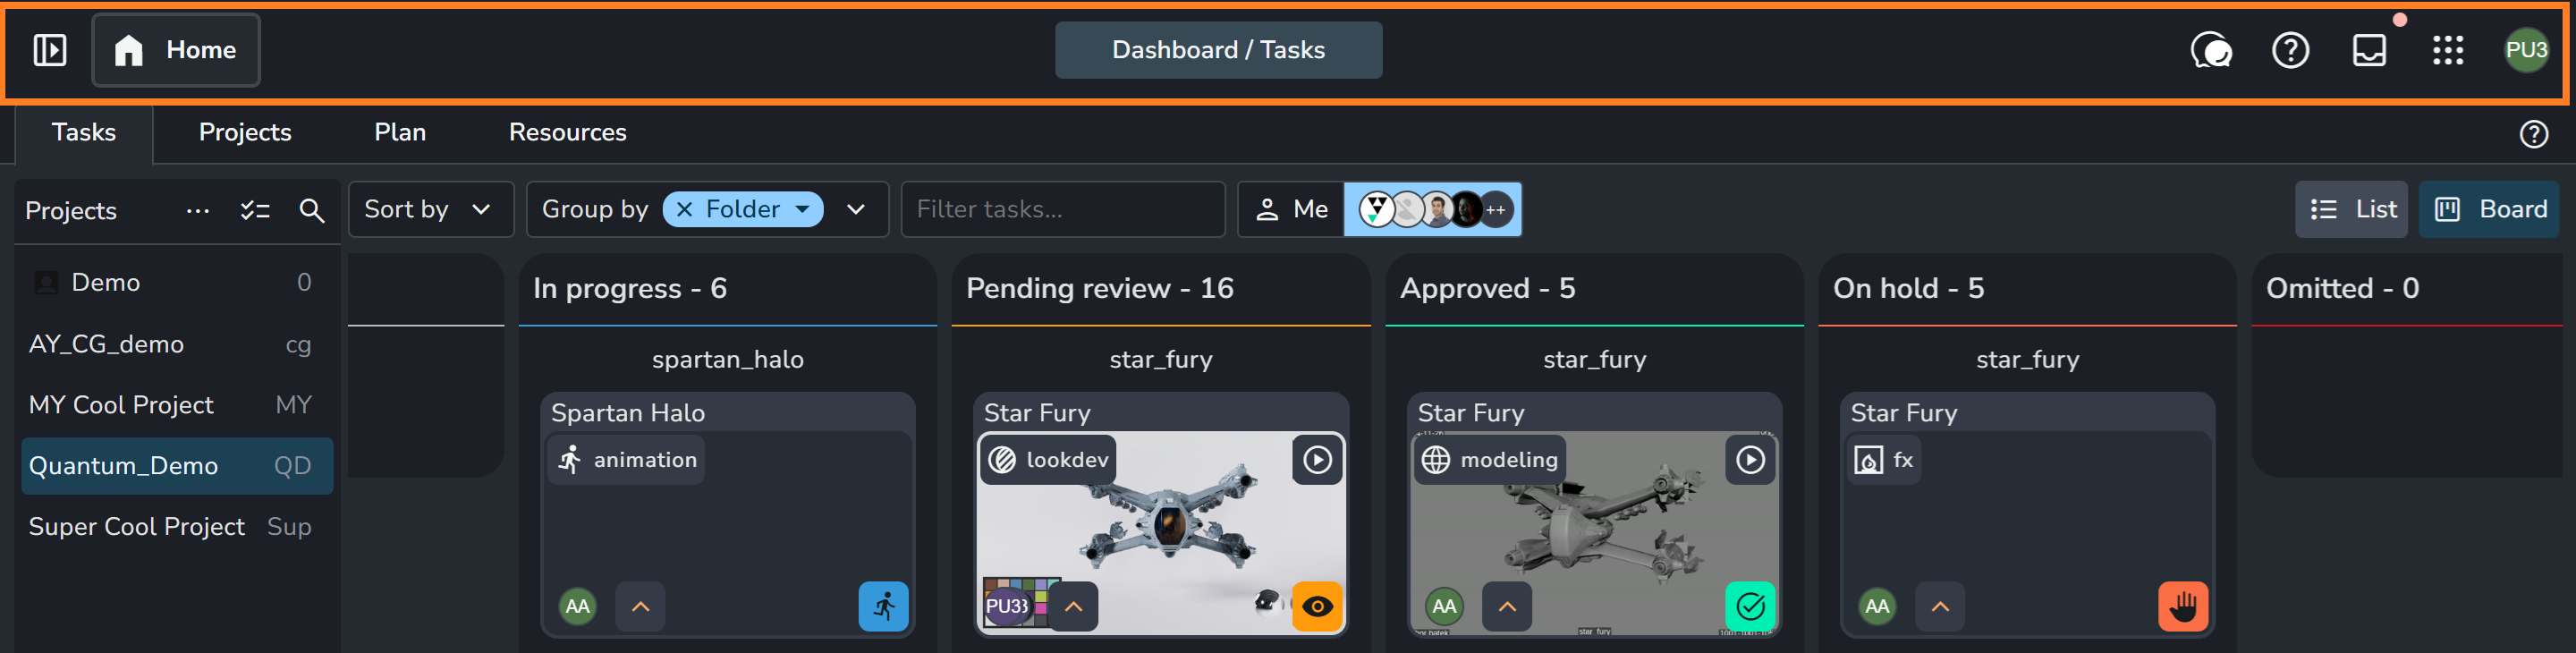
Take a minute or two to explore the top navigation bar. Browsing through these menus will give you a feel for where things live across the interface e.g. Account settings, AYON settings, Inbox, help and dev utils.
Going Further
Ready to move beyond the sandbox and test AYON with all what presents with production and pipeline features?
You can start a free trial directly by clicking the Start a free trail in the top green banner inside the AYON Playground or by visiting ynput.cloud/free-trial. Once your trial environment is ready, follow our Getting Started with AYON on Ynput Cloud: A Complete Studio Walkthrough to connect DCCs like Blender and run your first published assets through the pipeline.